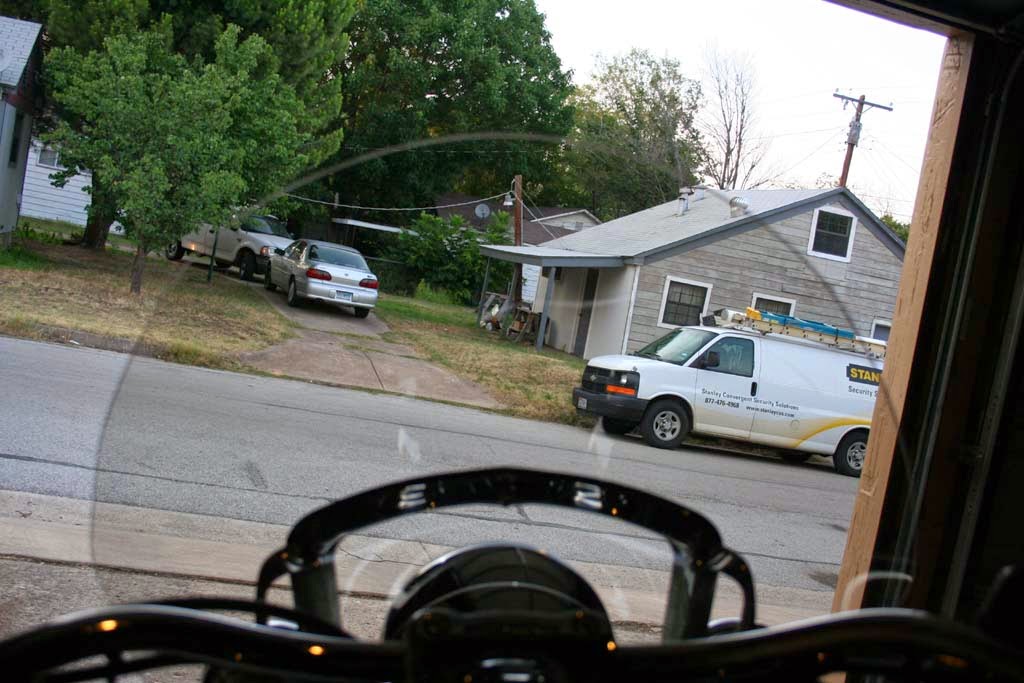
As I have gotten more comfortable on my bike I have had an ever growing issue with the windshield. I am getting a lot of reflections and glare on the inside that is affecting my ability to see the road due to its height. Everyone has their preferences on how tall, short, fat, etc. a windshield should be. Most articles, riders, and accessory places will recommend that your eye site should be just above the top of the wind shield which makes sense to me. Try having a windshield that you have to look through and ride in the rain. No wipers means you can’t see through it and you’ll end up having to crane your neck to the side of the windshield to see the road.
I have mentioned my issues to Scott a few times and he suggested cutting it. We could take it somewhere and have a company cut it for us or try it ourselves. Our decision? HA! Let's do this! No Fear! We Ain't Skeerd! The worst situation that could come from this is we could mess it up and have to buy a new windshield. It’s not like we would mess up the bike from improper procedures on this task.
He started by having me sit on the bike in riding position. As corny as this sounds he took a builders level and stuck it close to my eye until the bubble showed level and marked that spot on the windshield. This gave us a good visual reference as to where my eyesight came into contact on the windshield. Then we measured down 1” from that spot for our cut point. This point was exactly 2.5” from the top of the windshield. Scott measured 2.5” from the top center around towards both sides and made a lot of pinpoint marks as he went. When you get to a certain point towards each side you have to begin to taper your measurement to merge your cut line with the side of the windshield. This way it won’t look like you just chopped off the top.
Next he connected all the dots he made using a permanent marker. He did this freehand but had made enough dots to where it came out nicely rounded. Next he took painters tape and ran it on the lower portion of the windshield along the marker line. This helps prevent chipping if the jigsaw blade catches too much. I made sure to put a couple inches of tape to prevent the jigsaw base from scratching the plastic while moving it along while cutting.
For the cut we purchased a Bosch Jig Saw Blade For Plexiglass. This was our only expense on the project since we had everything else necessary.

Scott started at the blend point on one side of the windshield so he could make one continuous cut most of the way around without having to stop and reposition the blade. He didn't push very hard or force the blade to cut. Just held the jigsaw firmly and let the blade do the work. He also held the windshield very firmly and close to the front of the cutting blade to eliminate any jumping that could happen from snagging. If the blade snags it could cause the plastic to chip in that spot. Snagging will usually occur from a dull blade, pushing it along to fast trying to force the blade to cut faster than it is able, or a blade that is not fine toothed enough to cut the material. I held the windshield from moving around so he could focus on the cut. Just follow the tape line around and try to keep it as smooth as possible. You might not get an absolute perfectly rounded cut but you’ll be sanding any points or other imperfections afterwards.
When you get about ¾ of the way around you'll want to stop cutting. Your gonna want to cut the big rounded piece you've been working on off. The reason for this is to prevent the plastic you've already cut from snapping off due to the weight which could cause damage to the windshield. After you do this continue your cut on the remaining small piece until your done.

We took off the tape to get a better view of the cut and began sanding the edge with 100 grit sandpaper using an electric sander. We used the 100 grit to smooth any areas that might not have been rounded well or any points that needed to blend. When we were happy with the shape we moved to 400 grit and used this one to begin rounding the edges to match the original cut. We finalized the sanding with 600 grit without using the electric sander. Doing this allows you to feel any rough spots with your hand that you might need to go back to using a courser sandpaper.
 |
Before Sanding the Edge |
 |
| After Sanding the Edge |
And that's it! The whole job took about 2 hours and came out well. I've ridden with the shorter wind shield 3 times and am very happy with the results. One of the keys to riding safely is making sure you bikes fits well and that you are able to see properly, thanks to my modified windshield I am no longer bothered by the reflection I saw having to look through it.


No comments:
Post a Comment